
Winter is the hardest season on a manicure. Cold air dries out your nails, hot water and handwashing strip polish from the edges, and one snag on a wool sweater can undo a whole set. The good news is that a winter manicure does not have to chip in three days. With the right prep, the right products, and a few habits that cost nothing, the same polish can last two to three weeks, even in December. This guide collects 20 nail hacks that make winter manicures last longer, from a five-minute prep routine to the top coat refresh that saves a set on day ten.
Every hack in this list is practical and cheap, which means no salon visit is needed and no special skill is required.
Quick Answer: For the biggest gain, start with the Dehydrator Prep (#1), Cap the Free Edge (#3), and the Sticky Base Coat (#5). For chipped tips, try the Chip Patch Repair (#12) or the Top Coat Refresh (#8). For dry, splitting nails, use Daily Cuticle Oil (#10) and Gloves for Chores (#9). A well-prepped gel manicure lasts 2-3 weeks, regular polish lasts 7-10 days with these hacks, and most fixes cost under $15.
Why Nail Hacks Are Worth Your Time in Winter
Winter manicures fail for a reason that has nothing to do with the polish brand. Cold, dry air pulls moisture out of the nail plate, which makes nails contract and flex, and every flex breaks the bond between polish and nail. Then hot water, soap, and central heating swell the nail again, and the polish lifts at the edges. That cycle of shrinking and swelling is why a manicure that lasted two weeks in October chips in four days in January.
There is a money win too. A salon gel set costs $45-90, and replacing it every week adds up to hundreds of dollars over a winter. A bottle of cuticle oil costs about $8, a good base coat about $10, and a pair of rubber gloves about $5. The hacks in this guide cost less than one salon visit combined, and they stretch every set you already pay for.
Here is the lesser-known part: most chips start at the free edge, not in the middle of the nail. Water gets under the polish at the tip first, and once the edge lifts, the rest peels away like a sticker. That is why so many of these hacks focus on sealing and protecting the tip, even though the tip is the smallest part of the nail.
This guide suits anyone who paints their own nails, wears gel, or books a salon set and wants it to survive the holidays. It also covers press-on and dip powder wearers, because the same prep and protection rules apply.
At a Glance
- Five hacks are pure prep and need no new products at all.
- Wear times are listed for each hack, from a few extra days for regular polish to a full extra week for gel.
- Short nails, long nails, and every common shape appear, from square to almond.
- Salon sets run $45-90, while the products in this guide cost about $5-15 each.
- Fixes include prep, sealing, daily care, and repair, so you can save a set at any stage.
| # | Design | Nail Shape | Skill Level | Wear Time | Occasion |
|---|---|---|---|---|---|
| 1 | Dehydrator Prep | Any | Beginner | 2-3 weeks | Every manicure |
| 2 | Push, Don’t Cut Cuticles | Any | Beginner | 2-3 weeks | Every manicure |
| 3 | Cap the Free Edge | Any | Beginner | 2-3 weeks | Every manicure |
| 4 | Thin Coats, Always | Short square | Beginner | 7-10 days | Everyday |
| 5 | Sticky Rubber Base Coat | Almond | Beginner | 2-3 weeks | Everyday |
| 6 | The Two-Minute Dry Between Coats | Oval | Beginner | 7-10 days | Everyday |
| 7 | Builder Gel as a Shield | Short almond | Intermediate | 3-4 weeks | Holiday party |
| 8 | Top Coat Refresh Every 3 Days | Any | Beginner | 2-3 weeks | Everyday |
| 9 | Gloves for Dishes and Cleaning | Any | Beginner | 2-3 weeks | Everyday |
| 10 | Daily Cuticle Oil | Any | Beginner | 2-3 weeks | Everyday |
| 11 | No Hot Water for 24 Hours | Any | Beginner | 2-3 weeks | After application |
| 12 | Chip Patch Repair | Short oval | Intermediate | 1-2 weeks | Emergency fix |
| 13 | Keep Nails Shorter in Winter | Short round | Beginner | 2-3 weeks | Everyday |
| 14 | Hand Cream Barrier Before Going Out | Any | Beginner | 2-3 weeks | Everyday |
| 15 | Never Use Nails as Tools | Any | Beginner | 2-3 weeks | Everyday |
| 16 | Gel Over Regular Polish in Winter | Squoval | Intermediate | 2-3 weeks | Holiday season |
| 17 | Seal the Tips After Filing | Square | Beginner | 2-3 weeks | After shaping |
| 18 | The Freezer Trick for Fast Drying | Almond | Beginner | 7-10 days | Last-minute |
| 19 | Humidifier and Indoor Heating Care | Any | Beginner | 2-3 weeks | At home |
| 20 | Soak Off, Never Peel | Any | Beginner | 2-3 weeks | Removal day |
1. Dehydrator Prep: The Five-Minute Step That Doubles Wear Time
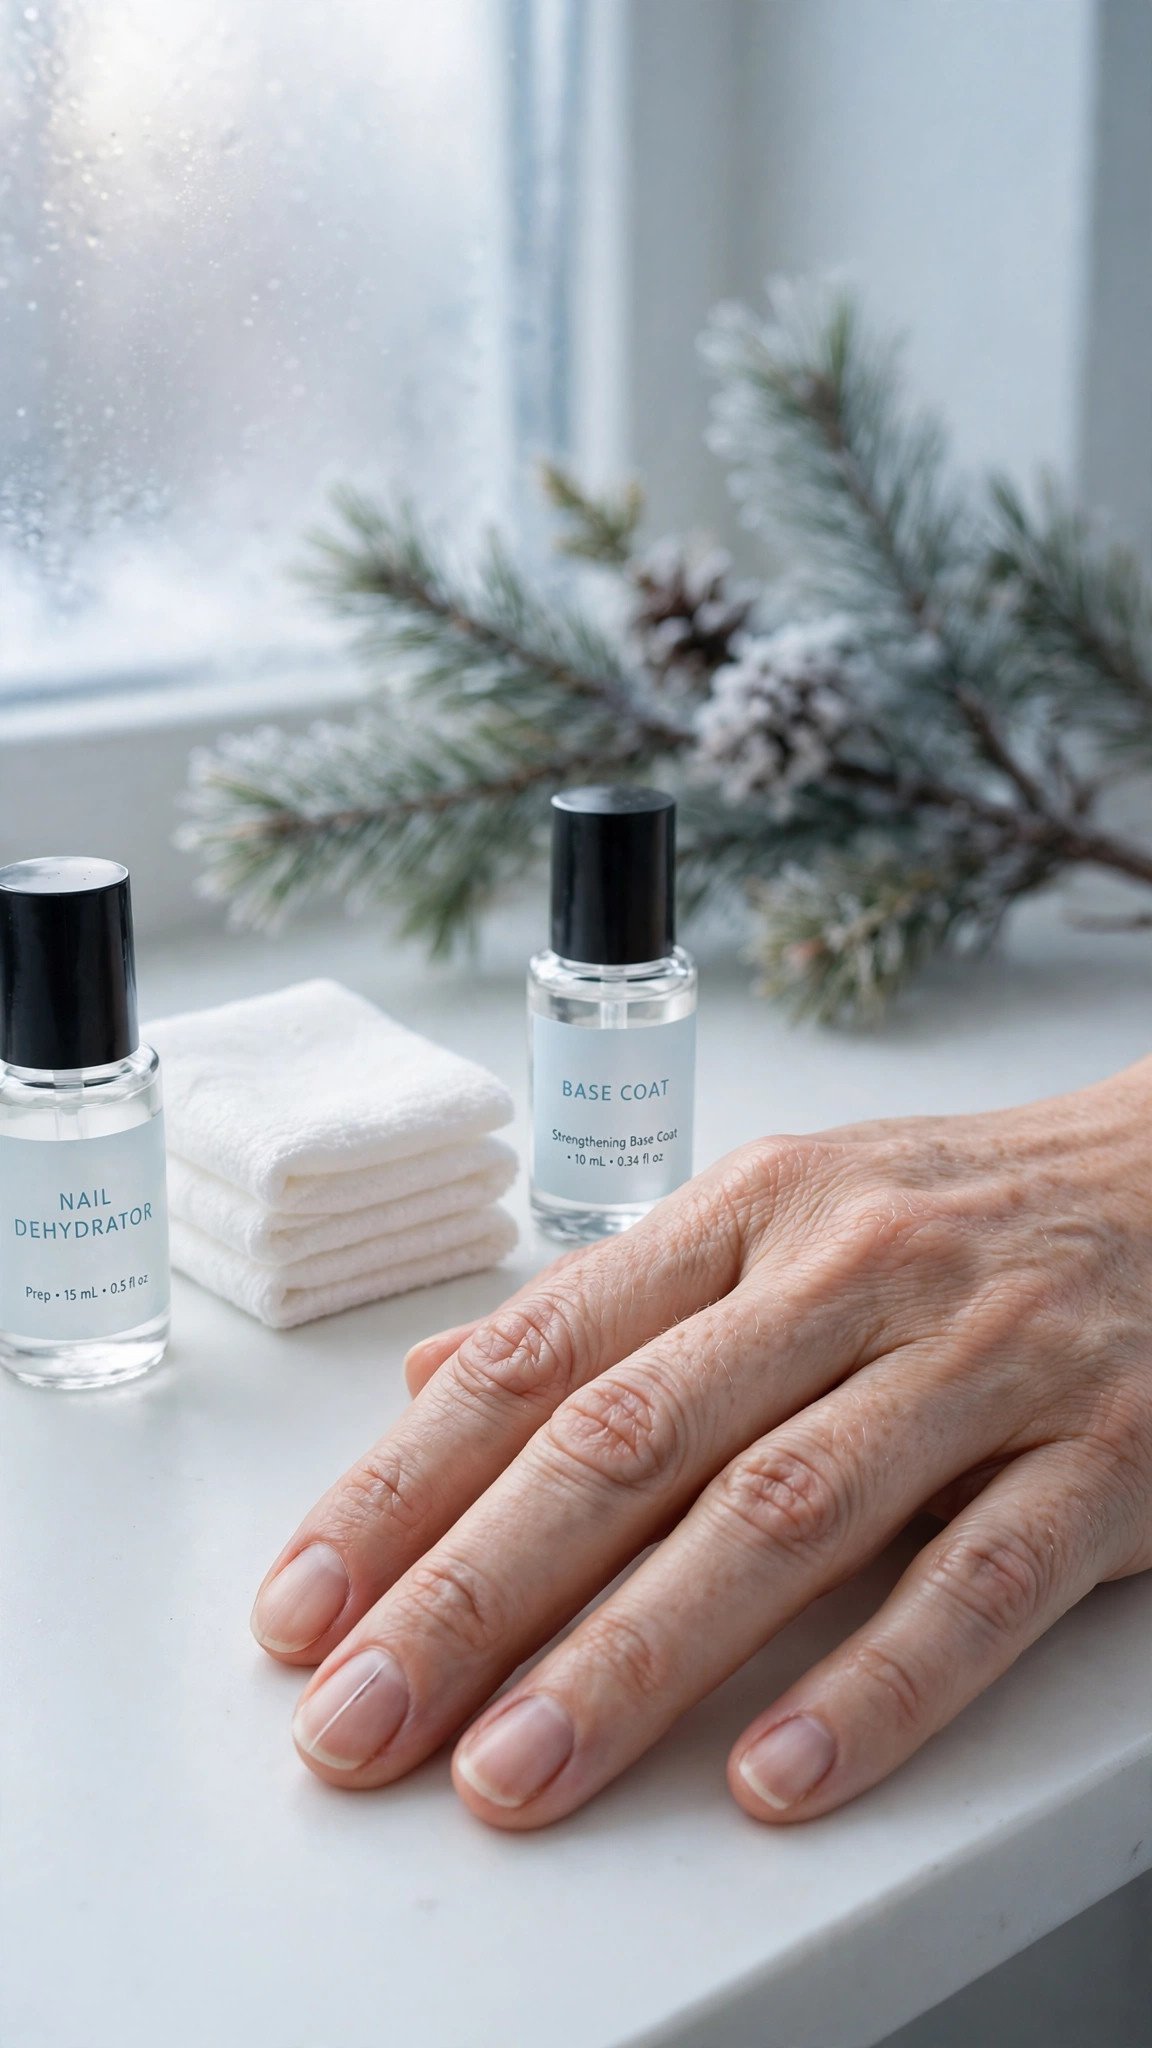
Polish sticks to a dry nail and slides off an oily one, and most nails carry a thin layer of natural oil even after washing. A nail dehydrator, which is mostly alcohol and acetone, strips that oil and moisture from the nail plate so the base coat can grip properly. This one step is the reason salon manicures outlast home ones, because a good nail tech never skips it.
You need a bottle of nail dehydrator or plain 99 percent isopropyl alcohol and a lint-free wipe. Push back the cuticles, buff the nail surface lightly with a fine buffer, then wipe each nail with dehydrator and let it dry for thirty seconds. Apply base coat within a minute, while the nail is still completely dry.
Pro Tip: Dehydrate one hand at a time and paint it immediately. If you prep both hands first, the second hand picks up oil again while you paint the first.
See nail prep basics or how to make polish last longer.
This one costs under $10 and takes about five minutes, and it can add a full week to a gel manicure.
2. Push, Don’t Cut Cuticles

Cut cuticles bleed, and even a tiny nick gives polish a place to lift and gives winter germs a way in. Pushed-back cuticles give you the same clean edge without the damage, and the polish seals better against smooth skin than against a ragged cut edge.
You need a wooden orangewood stick or a metal pusher and a drop of cuticle oil. Soften the cuticles first with warm water or oil for two minutes, then push gently toward the knuckle with the flat end of the stick. Use small, light strokes and stop as soon as the nail plate is clear.
Regular polish lasts 7-10 days and gel lasts 2-3 weeks when the cuticle edge is smooth and sealed.
Pro Tip: Push cuticles back once a week, not once a month. A weekly two-minute push keeps them soft and stops the ragged edges that snag on sweaters and lift polish.
See cuticle care guide or how to prep nails at home.
This one costs under $5 and takes about two minutes per hand.
3. Cap the Free Edge With Every Coat
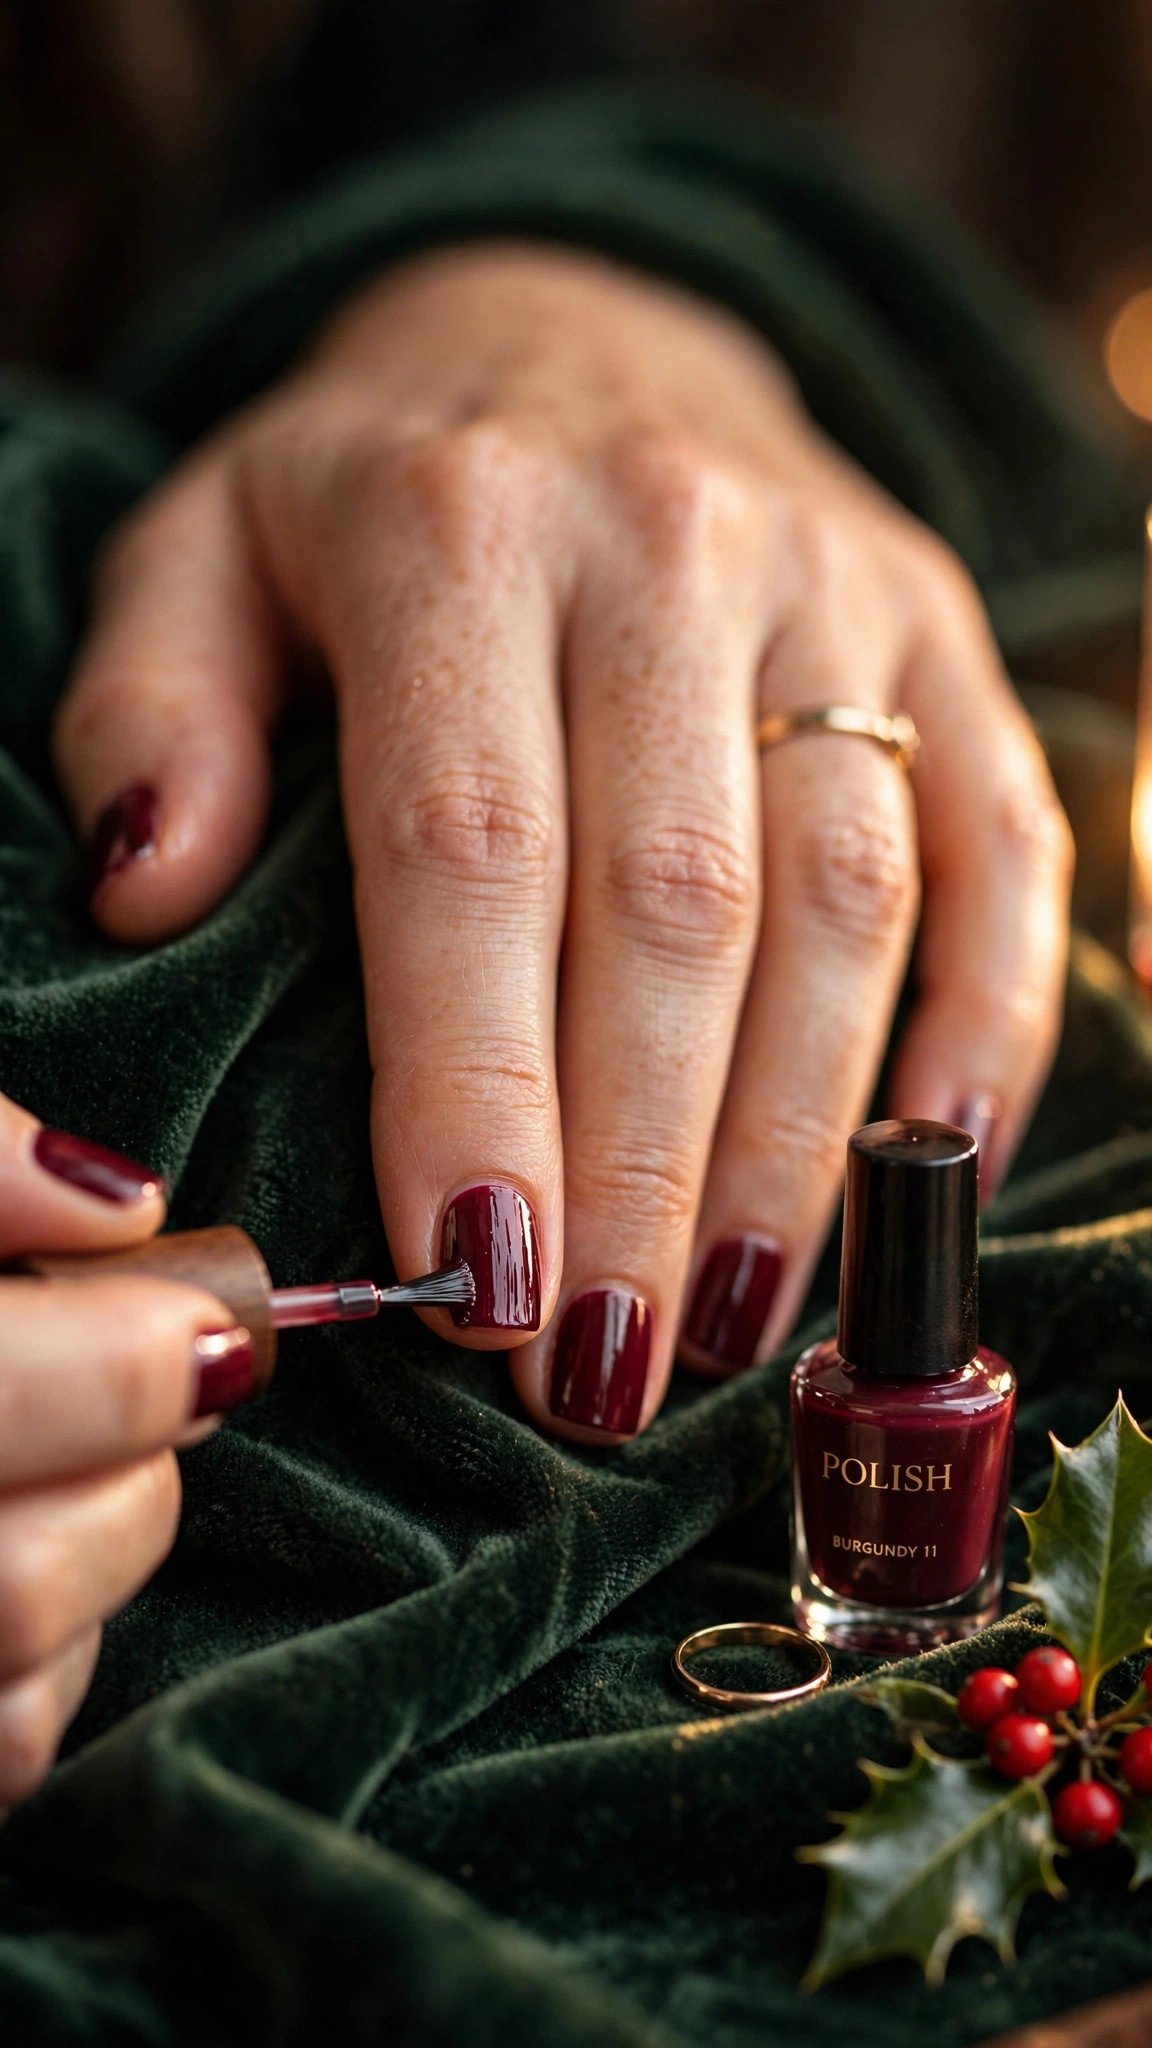
Capping means running the brush along the very tip edge of the nail with each coat, so the polish wraps around the end like a seal. Water gets under polish at the free edge first, and a capped edge blocks it. This is the single most effective anti-chip hack in this list, and it costs nothing.
You need nothing new, just a habit change. After painting the nail surface, wipe most of the polish off the brush, hold the nail so the tip faces you, and run the brush horizontally across the edge. Do it with the base coat, every color coat, and the top coat.
Pro Tip: Cap the edge again when you do a top coat refresh on day three. The fresh seal covers any micro-chips before they spread.
Browse base coat tips or how to stop polish chipping.
This one costs nothing and takes about ten seconds per nail.
4. Thin Coats, Always
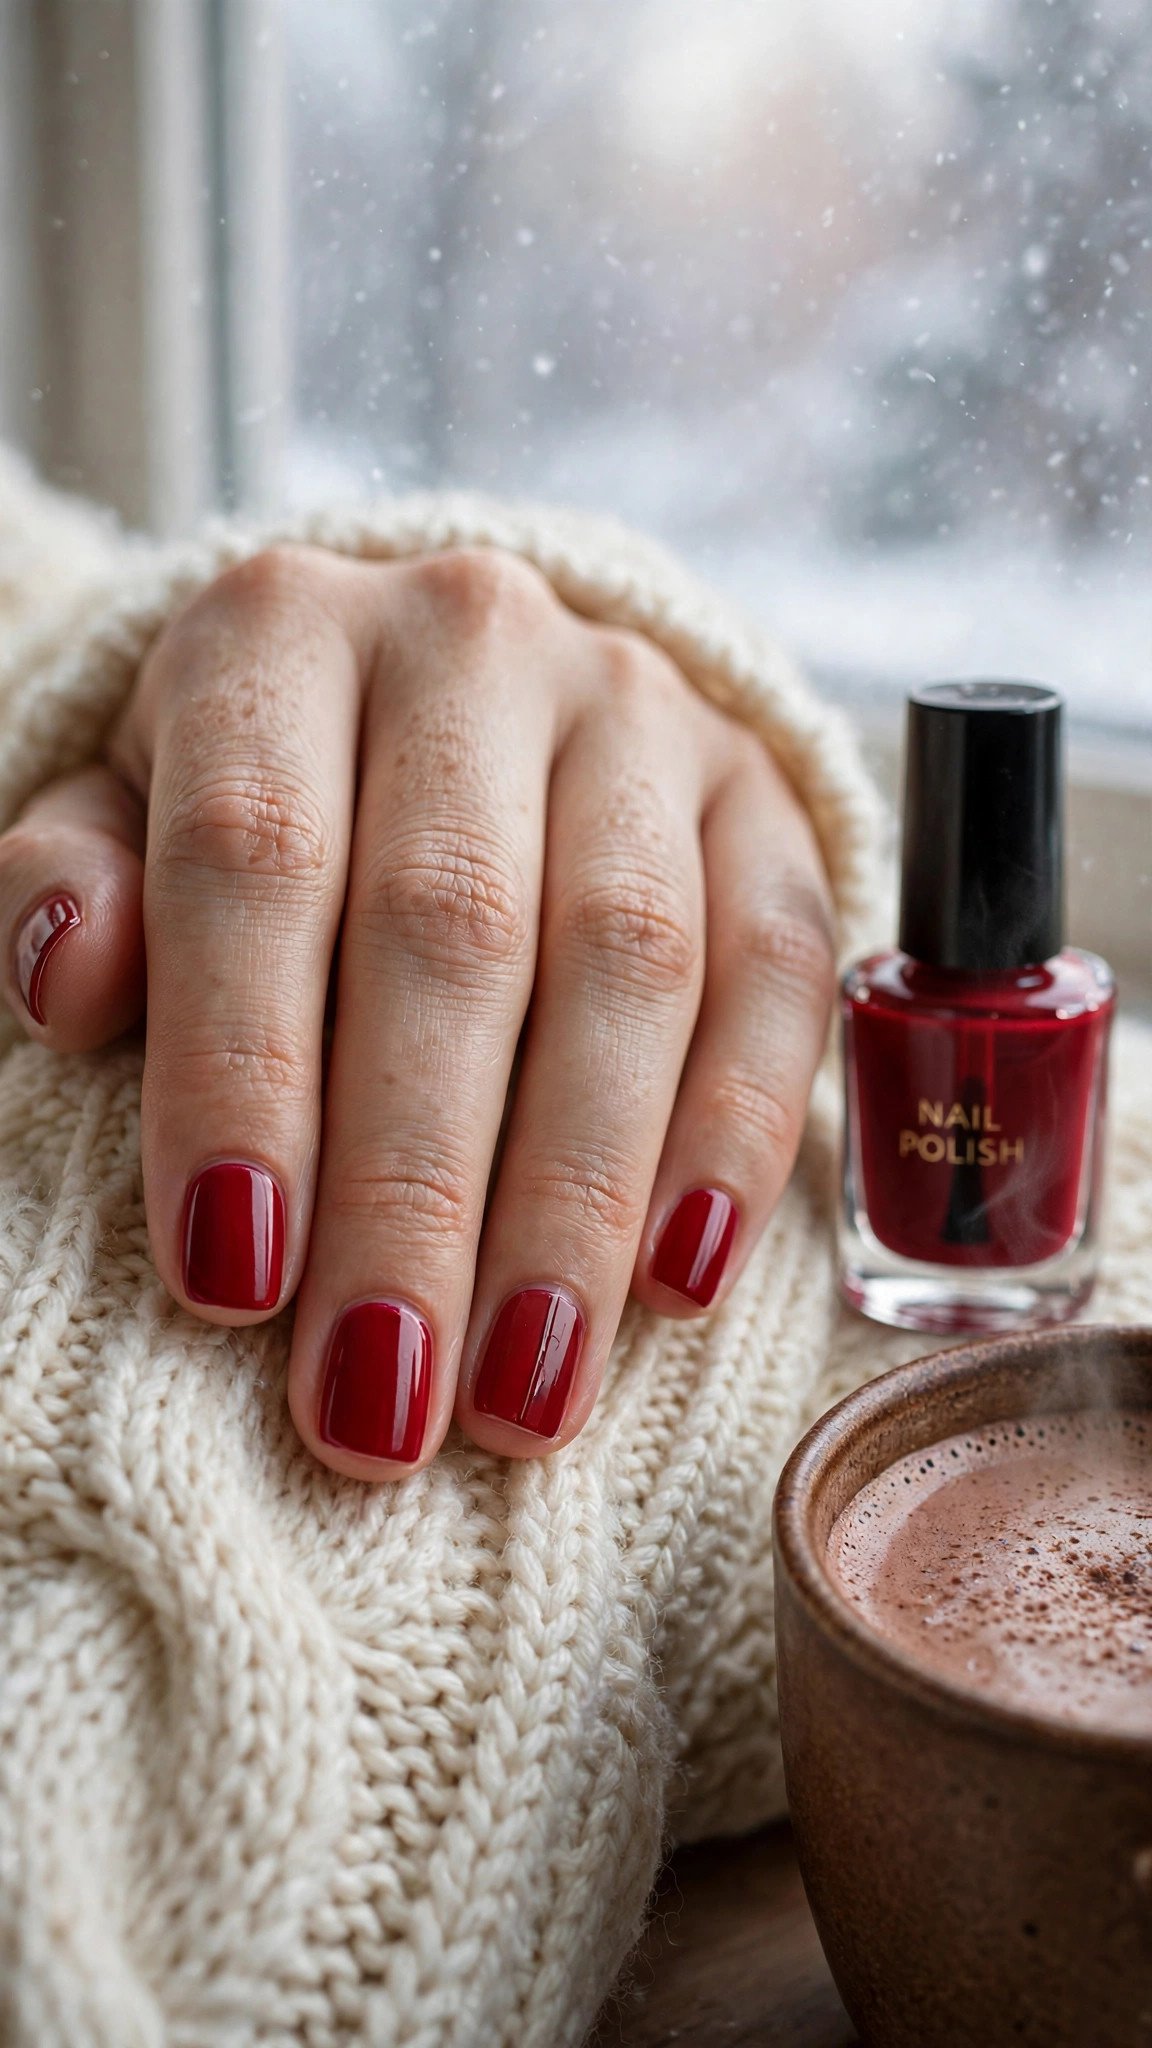
Thick coats look done faster, but they dry on the outside and stay soft underneath, so they dent, bubble, and peel within days. Two or three thin coats dry all the way through and bond to each other, which is why they last longer even though they take a few minutes more.
You need only your regular polish and a little patience. Wipe one side of the brush on the bottle neck, then paint in three strokes: one down the middle, one on each side. Wait two minutes between coats so the solvent can evaporate instead of getting trapped.
Regular polish lasts 7-10 days with thin coats, compared with 3-4 days with thick ones.
Pro Tip: If a coat goes on too thick by accident, do not try to smooth it. Let it dry fully, then add a thin coat over it, or remove it and start that nail again.
See how to apply polish evenly or common manicure mistakes.
This one costs nothing and adds about five minutes to a manicure.
5. Sticky Rubber Base Coat
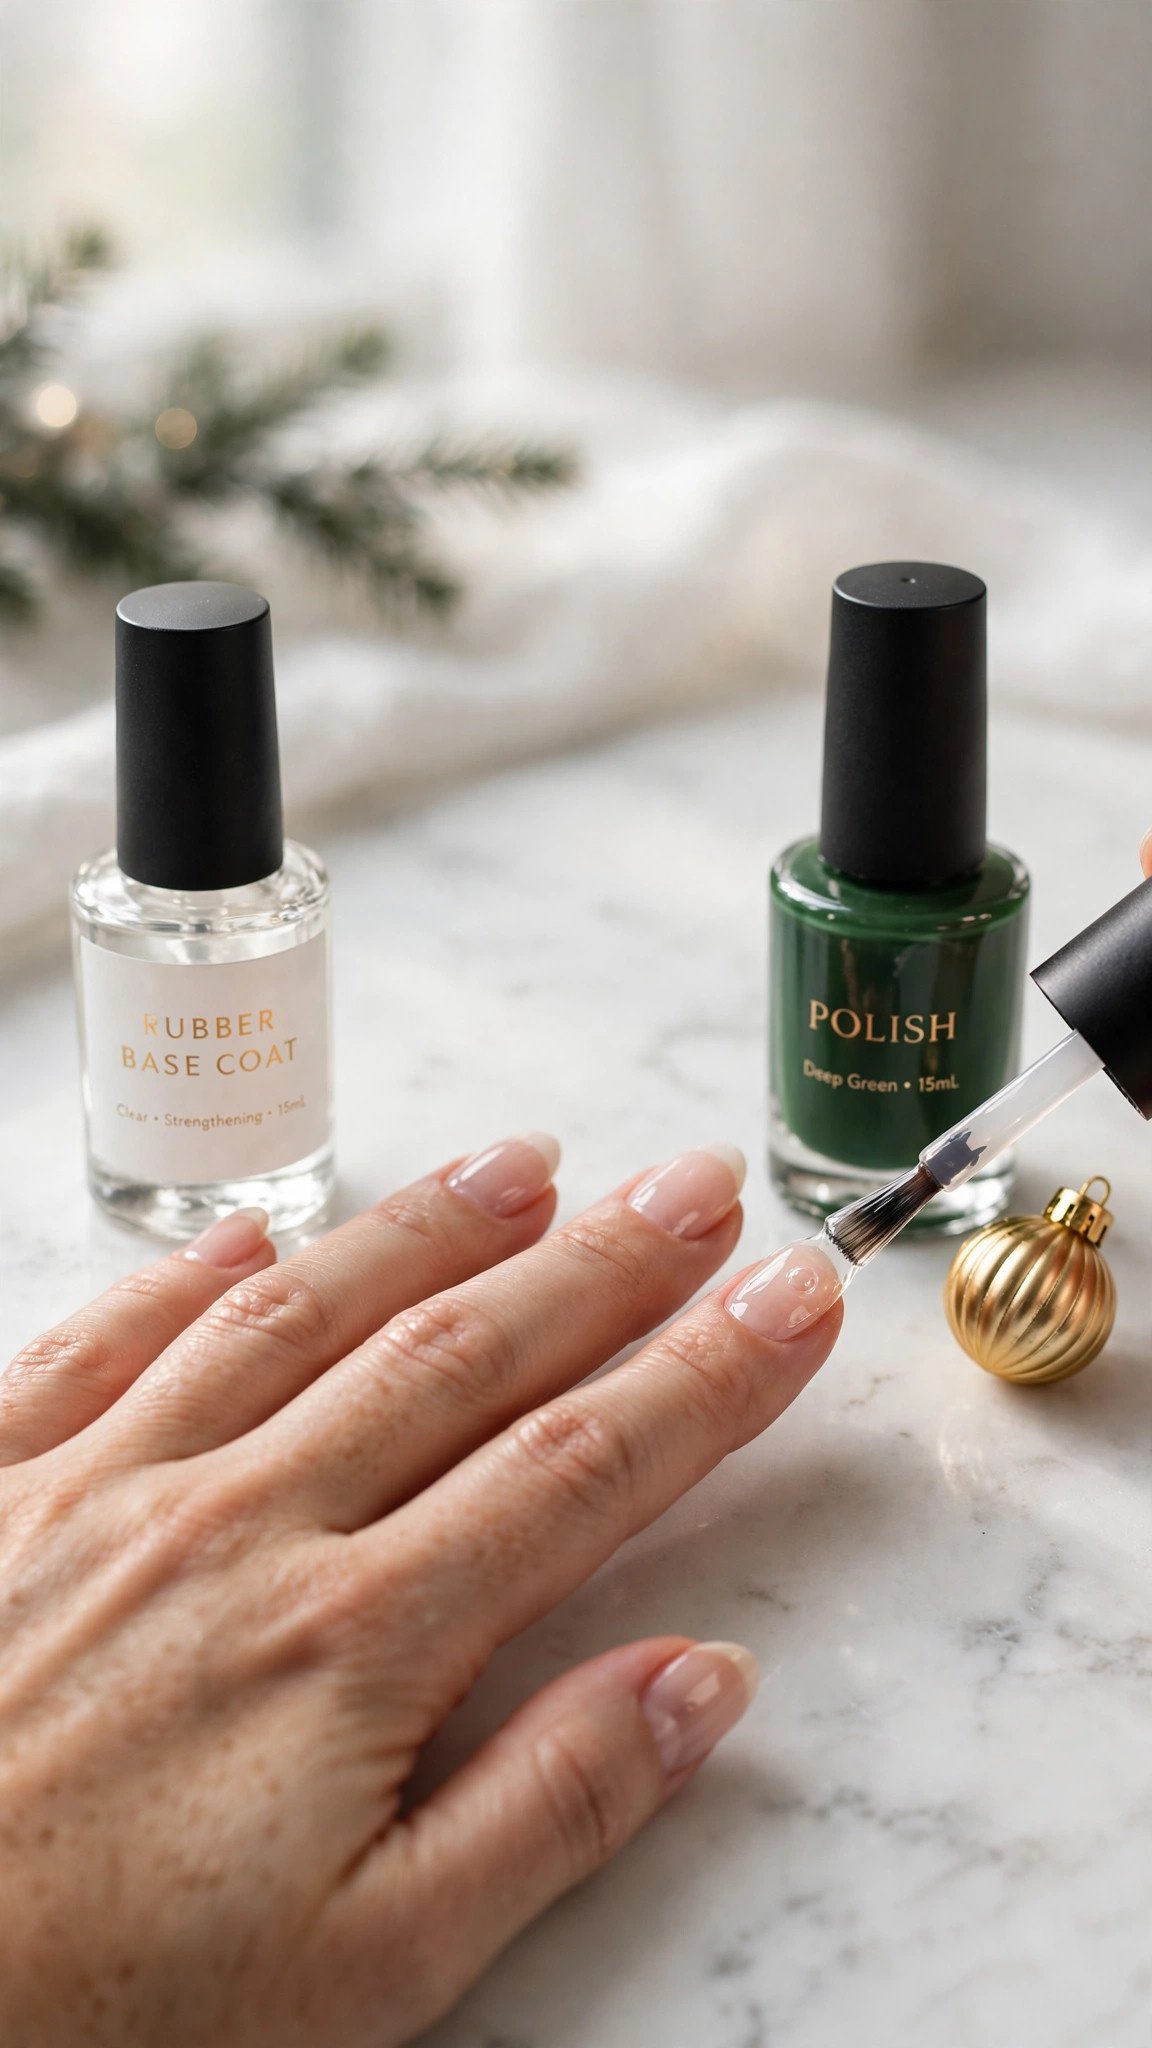
A regular base coat protects the nail from staining. A rubber base coat does that and also acts like double-sided tape, with a slightly tacky, flexible layer that moves with the nail instead of cracking when the nail flexes in cold weather. That flexibility is exactly what winter nails need.
You need a bottle of rubber or sticky base coat, which costs about $10-15. Apply one thin layer after dehydrator prep and cure it for 60 seconds under an LED lamp if it is gel, or let it dry for two minutes if it is regular polish.
Gel lasts 2-3 weeks over a rubber base, and many people get a full extra week compared with a standard base.
Pro Tip: Use rubber base on weak or peeling nails even if you wear regular polish. It fills tiny ridges and gives the color a smooth surface to hold onto.
Browse base coat guide or builder gel basics.
This one costs about $10-15 and takes about two minutes to apply.
6. The Two-Minute Dry Between Coats

Rushing coats is the fastest way to ruin a manicure. When the next coat goes on before the last one is dry, the solvent gets trapped underneath, and the polish stays soft for hours. It dents on bedsheets, smudges on zippers, and peels off in sheets within two days.
You need a timer or a phone and two minutes of patience per coat. Paint all ten nails with one coat, then wait a full two minutes before the next coat. The polish should feel dry to a light touch, not tacky.
Regular polish lasts 7-10 days when coats dry properly, compared with 3-5 days when they are rushed.
Pro Tip: Paint your dominant hand first. It is slower to paint and dries while you do the other hand, which saves waiting time overall.
See nail drying tips or how long polish takes to dry.
This one costs nothing and adds about six minutes to a manicure.
7. Builder Gel as a Shield

Builder gel is a thick, strong gel that sits between your natural nail and the color, like a shield. It stops winter nails from bending and snapping, and because it barely flexes, the color on top cannot crack. It is the closest thing to acrylic without the harsh removal.
You need a bottle of builder gel in a bottle, an LED lamp, and a fine brush. Apply a thin slip layer first and cure for 30 seconds, then add a slightly thicker layer, float it toward the apex of the nail, and cure for 60 seconds. File the shape lightly after curing, then paint as normal.
A builder gel manicure lasts 3-4 weeks, which is a full week longer than a standard gel set.
Pro Tip: Cure builder gel for the full 60 seconds, even if the lamp beeps at 30. Under-cured builder stays soft underneath and peels off in one piece, taking the color with it.
Browse builder gel basics or gel manicure at home.
This one costs about $15-25 for the gel and takes about 20 minutes extra.
8. Top Coat Refresh Every Three Days

Top coat wears down before color does. Daily handwashing, typing, and cold air thin the top layer until the color is exposed, and then chips follow within a day. A fresh layer of top coat every three days replaces that worn shield and reseals the tips.
You need a bottle of quick-dry top coat, which costs about $8-12. Wipe each nail with a dry lint-free wipe first, then apply one thin layer, cap the free edge, and let it dry for five minutes.
Pro Tip: Use a top coat with UV protection if your color is red or burgundy. Winter sun through a car window fades those shades, and a UV top coat keeps them rich.
See top coat guide or how to refresh a manicure.
This one costs about $10 and takes about five minutes every three days.
9. Gloves for Dishes and Cleaning

Hot water and dish soap are the two fastest polish killers in a house. Water swells the nail plate and lifts polish from underneath, while detergent strips the oils that keep the nail flexible, so the polish cracks. Rubber gloves block both, and they cost less than a coffee.
You need a pair of rubber gloves for dishes and a pair of cotton-lined gloves for cleaning with chemicals.
Any nail shape benefits, because water damage hits every manicure the same way. Gel lasts 2-3 weeks and regular polish lasts 7-10 days when hands stay dry during chores, compared with half that when they do not.
Pro Tip: Wear thin cotton gloves under rubber gloves if your hands sweat. Sweat inside a rubber glove swells nails almost as much as dishwater does.
Browse manicure care tips or how to protect nails at home.
This one costs about $5 and takes ten seconds to put on.
10. Daily Cuticle Oil

Cuticle oil is not a luxury extra, it is the thing that keeps polish stuck to your nail. Dry cuticles crack and peel, and every crack travels under the polish and lifts it from the base. Oiled cuticles stay flexible and sealed, and the nail plate underneath stays hydrated enough to hold polish.
You need a bottle of cuticle oil, ideally jojoba-based, which costs about $8-12. Apply one drop per nail every night before bed, massage it into the cuticle and the skin around the nail for ten seconds, and let it soak in overnight.
Gel lasts 2-3 weeks and regular polish lasts 7-10 days with daily oil, and the difference is visible by day five, when unoiled manicures start lifting at the base.
Pro Tip: Keep a rollerball bottle of cuticle oil in your coat pocket. One swipe after coming in from the cold replaces the moisture the wind just stripped away.
See cuticle oil benefits or winter nail care routine.
This one costs about $10 and takes about one minute a day.
11. No Hot Water for 24 Hours

Fresh polish keeps curing for hours after it looks dry, and hot water softens it before the cure finishes. A long hot shower or a sink full of hot dishwater on the same evening can wrinkle a manicure that would otherwise last two weeks. The fix is simple: lukewarm water only for the first day.
You need nothing but a little discipline. After a manicure, wash hands in lukewarm water and pat them dry instead of rubbing. Skip the hot bath, the sauna, and the long steamy shower until tomorrow. If you must do dishes, wear gloves and use warm, not hot, water.
Gel lasts 2-3 weeks and regular polish lasts 7-10 days when the first day stays cool, and the gain is largest on dark colors, which cure slowest.
Pro Tip: Book evening manicures, not morning ones. You sleep through the curing window, and your hands stay dry and still for eight hours.
Browse gel curing tips or manicure aftercare.
This one costs nothing and takes no extra time, just a cooler tap for a day.
12. Chip Patch Repair

A small chip does not mean the manicure is over. A patch repair takes three minutes and can buy another week, because it seals the exposed edge before water gets underneath and peels the rest of the nail.
You need the same color polish, a fine detail brush, and top coat. File the chipped edge smooth with a fine file so no rough lip catches on fabric. Dab a tiny amount of color onto the bare spot with the detail brush, let it dry for two minutes, then add a second thin dab if the color looks thin. Finish with top coat over the whole nail and cap the edge.
Pro Tip: Patch with a makeup sponge instead of a brush for glitter polishes. Dab the sponge lightly and the glitter blends into the old polish with no visible line.
See nail repair guide or how to fix a chipped manicure.
This one costs nothing if you already own the polish, and takes about three minutes per nail.
13. Keep Nails Shorter in Winter

Long nails act like levers. Every time a long tip catches on a pocket, a zipper, or a sweater, the force travels to the base and cracks the polish, or snaps the nail itself. Short nails have almost no leverage, so the same knock does nothing. In winter, when you are pulling on coats and gloves all day, that difference is worth a week of wear.
You need a nail clipper and a fine file. Trim to a free edge of 2-3 mm and file into a short round or short oval shape, which has no corners to catch.
Gel lasts 2-3 weeks and regular polish lasts 7-10 days on short nails, while the same polish on long nails often chips within four days.
Pro Tip: If you love long nails, keep them for summer and go short from December to February. Your nails will thank you, and the polish will actually last until your next appointment.
Browse short nail ideas or best winter nail shapes.
This one costs nothing and takes about ten minutes to shape.
14. Hand Cream Barrier Before Going Out
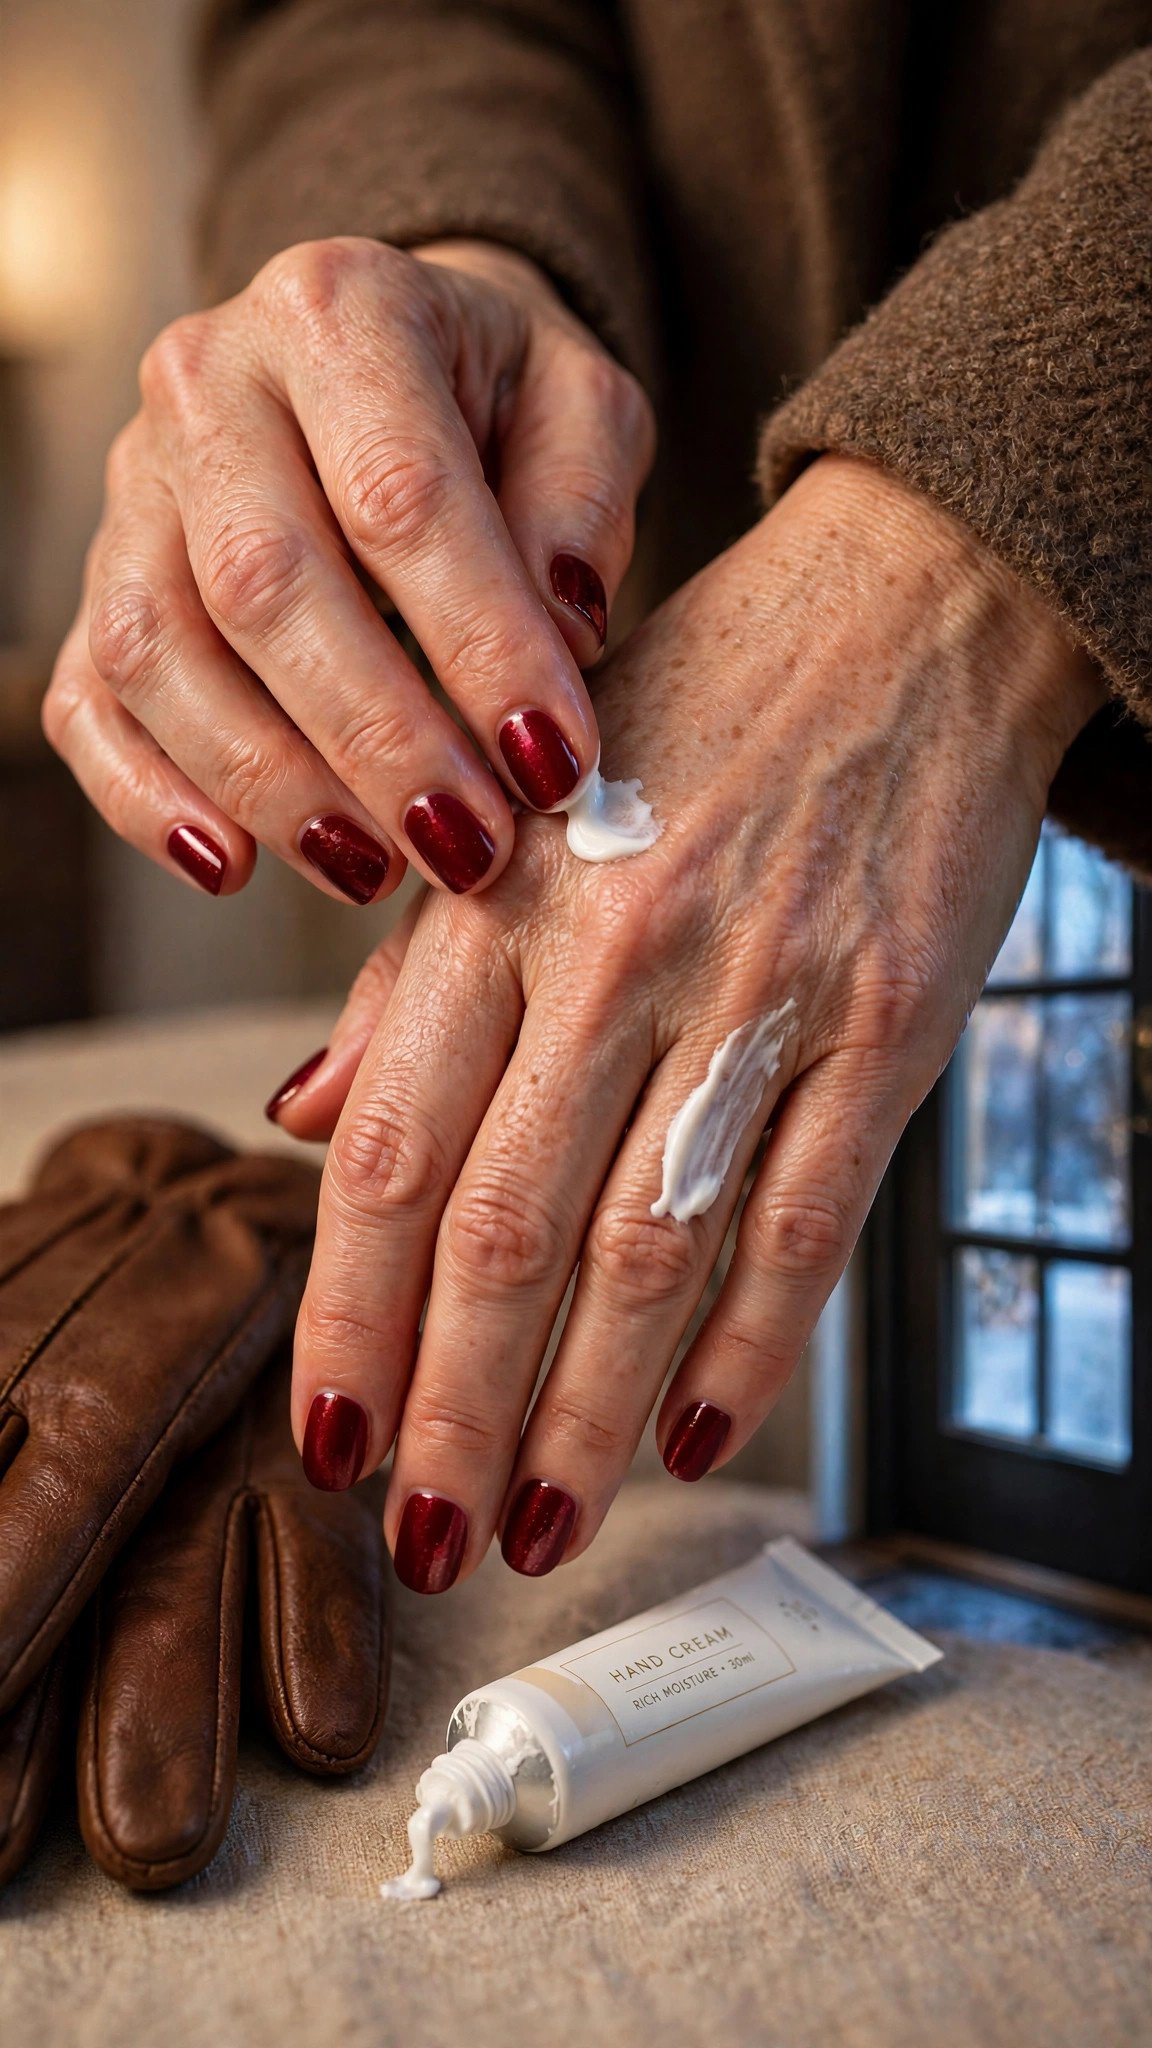
Cold wind strips moisture from your hands in minutes, and dry skin pulls at the cuticles and lifts polish from the edges. A thick hand cream applied before you go out forms a barrier that slows that moisture loss, and gloves over the top lock it in.
You need a rich hand cream, not a light lotion, which costs about $8-15. Apply a generous layer to your hands and around each nail ten minutes before going outside, so it soaks in instead of rubbing off on your gloves. Then put on gloves, because bare hands in cold wind lose moisture faster than any cream can replace it.
Gel lasts 2-3 weeks and regular polish lasts 7-10 days when hands are creamed and gloved, and the cuticles stay smooth instead of ragged and snagging.
Pro Tip: Choose a fragrance-free cream for the barrier layer. Scented creams often contain alcohol, which dries the skin they are meant to protect.
See winter hand care or best hand creams for cold weather.
This one costs about $10 and takes about one minute before leaving the house.
15. Never Use Nails as Tools
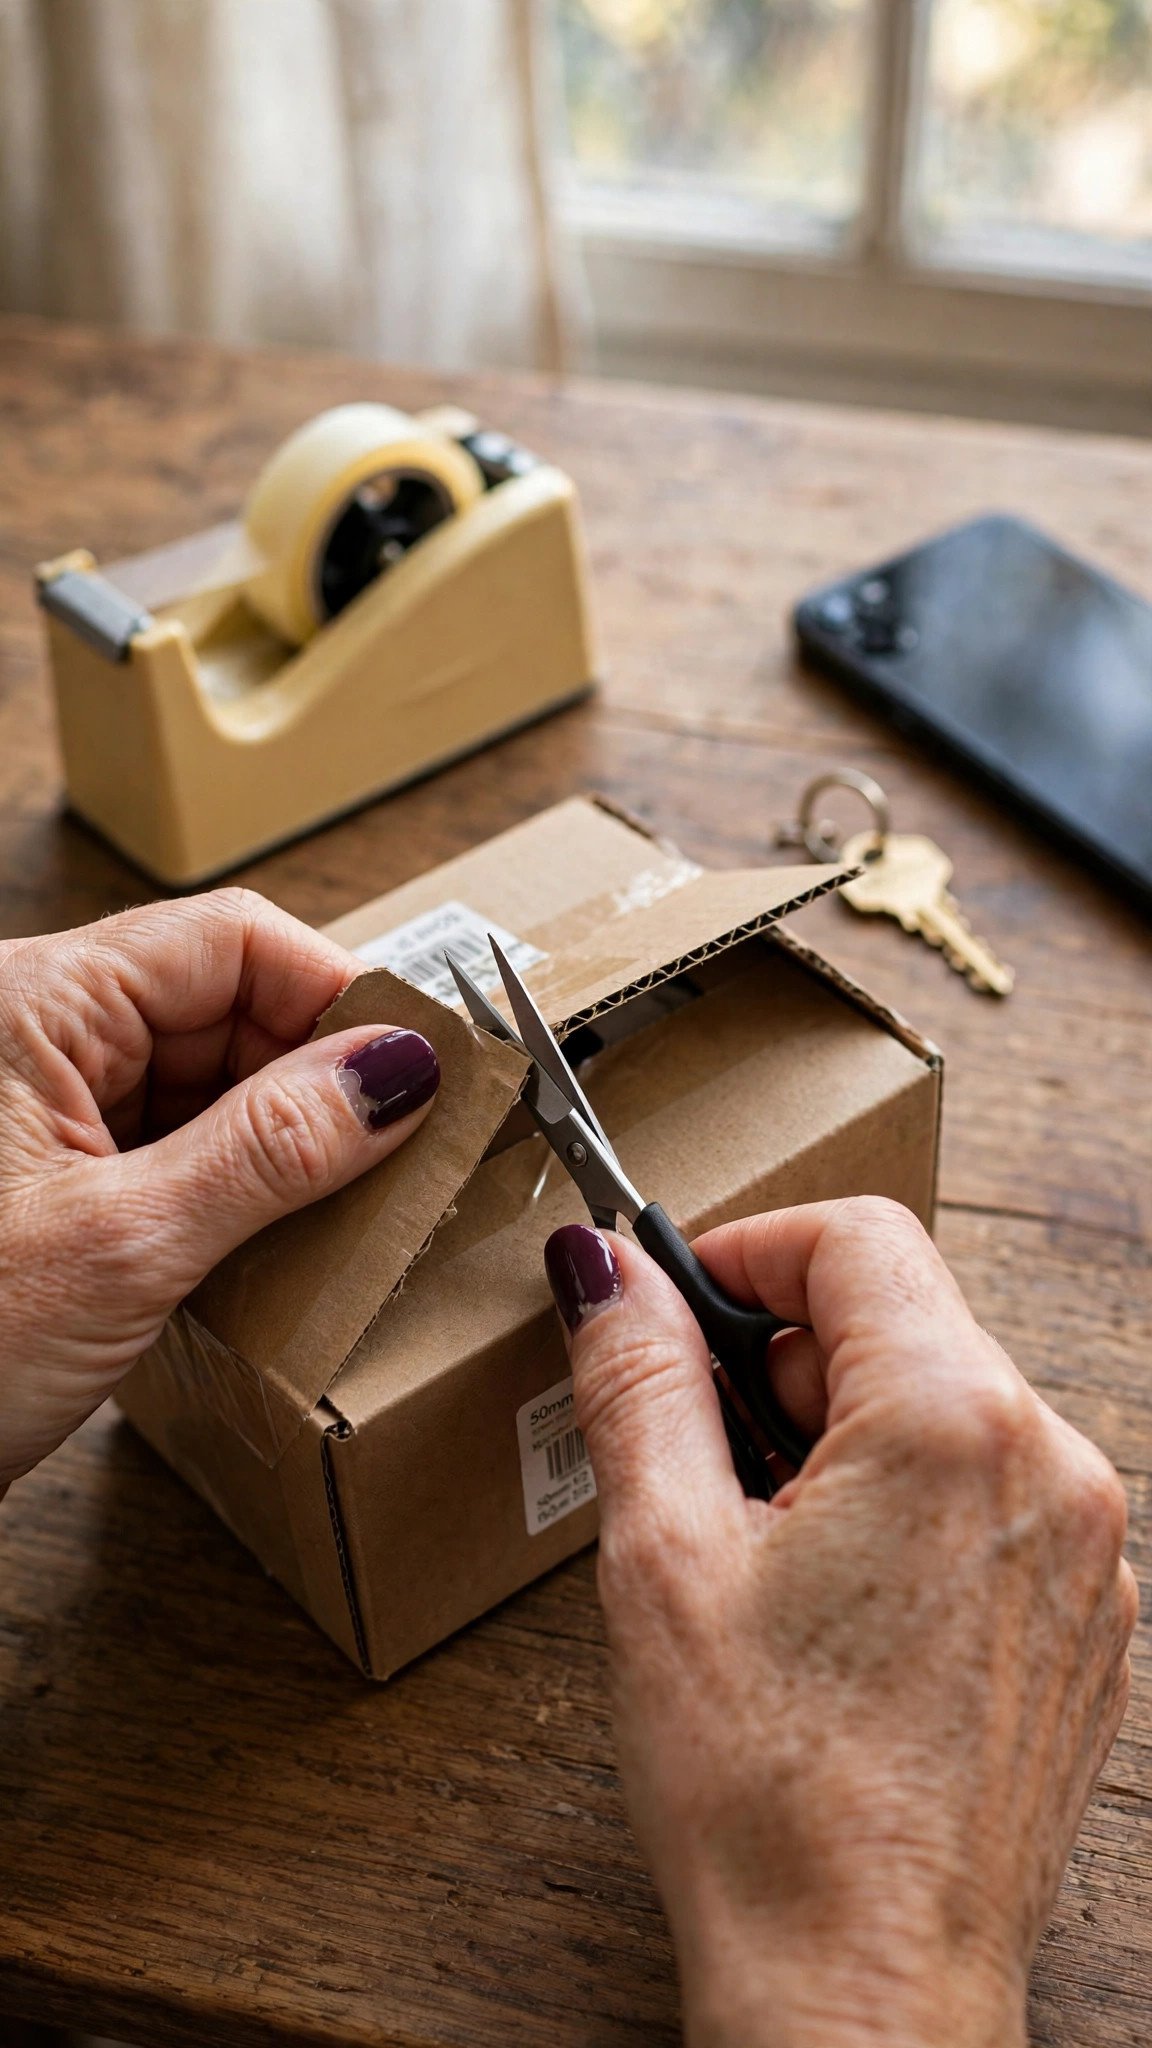
Every time you use a nail to open a can, scrape a sticker, or pry open a package, you bend the nail tip backward and crack the polish at the stress point. In winter, when nails are drier and more brittle, one pry can snap a nail that would have bent safely in summer.
You need nothing new, just a habit swap. Keep a pair of small scissors, a key, or a coin by the door for packages, and use the pads of your fingers, not the tips, to press buttons and peel labels.
Gel lasts 2-3 weeks and regular polish lasts 7-10 days when nails are never used as tools, and the difference shows up as fewer corner chips, which are the hardest chips to patch.
Pro Tip: Keep a small multi-tool or a coin in your coat pocket during winter. Cold hands reach for nails first, and a coin in the pocket is faster than a broken nail.
Browse nail care habits or how to stop breaking nails.
This one costs nothing and saves the manicure you already paid for.
16. Gel Over Regular Polish in Winter
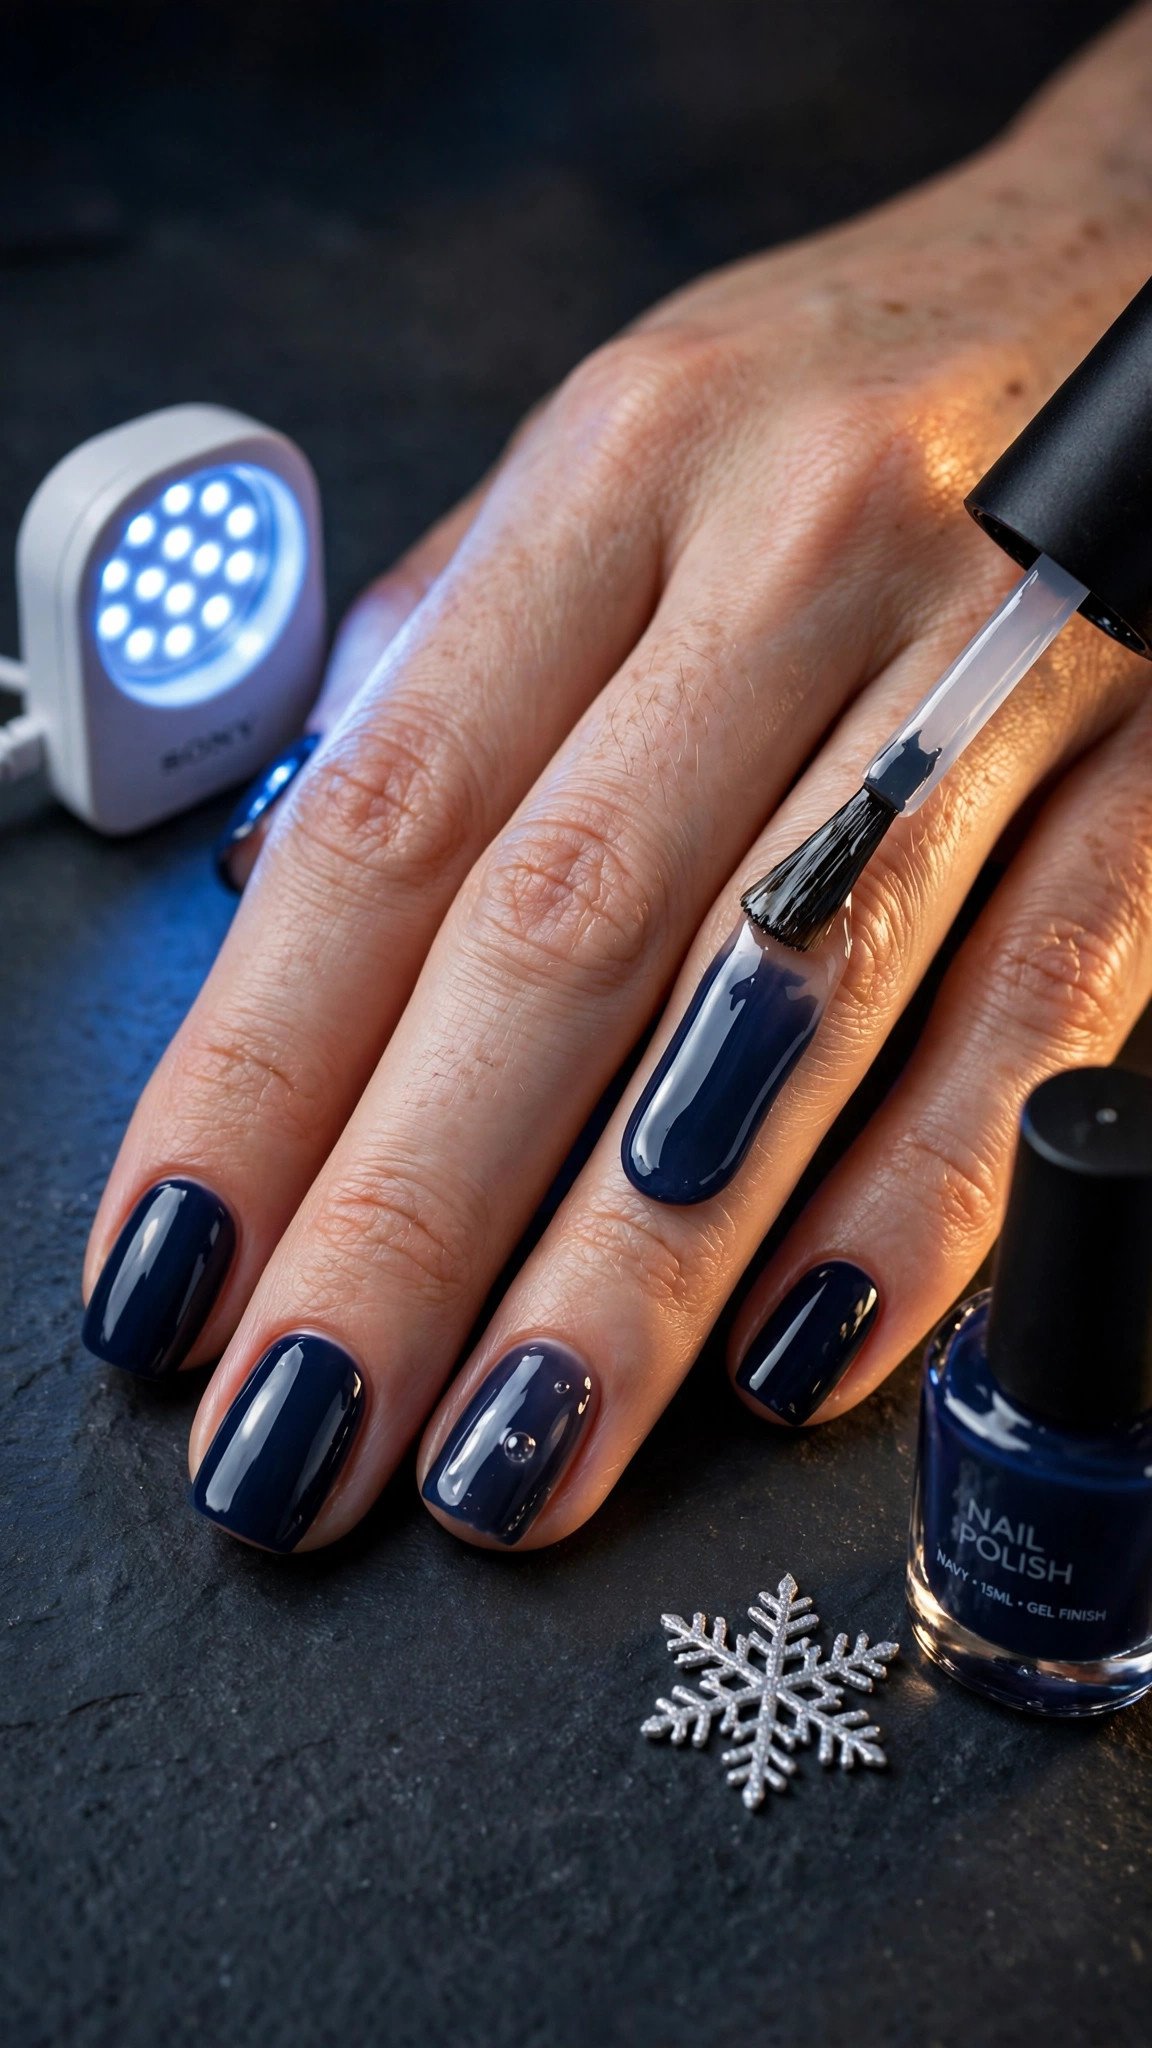
Regular polish chips fast in winter, and a full gel set needs a lamp, a base, and a cure for every layer. The middle ground is a gel top coat over regular color, which gives you the hard, glossy shield of gel without relearning your whole routine.
You need a bottle of regular polish in your chosen color and a gel top coat with an LED lamp. Paint two thin coats of regular polish and let them dry completely, for at least thirty minutes, because trapped solvent under gel causes bubbling. Then apply one thin layer of gel top coat, cap the edge, and cure for 60 seconds. The gel seals the color like a shell.
The manicure lasts 2-3 weeks, which is gel territory, while the color underneath is any regular polish you already own.
Let the regular polish dry fully before the gel layer, keep the gel coat thin, and cure for the full 60 seconds, because gel over tacky polish bubbles and peels in a day.
See gel top coat guide or hybrid manicure how-to.
This one costs about $15-20 for a gel top coat and lamp time, and adds about five minutes.
17. Seal the Tips After Filing
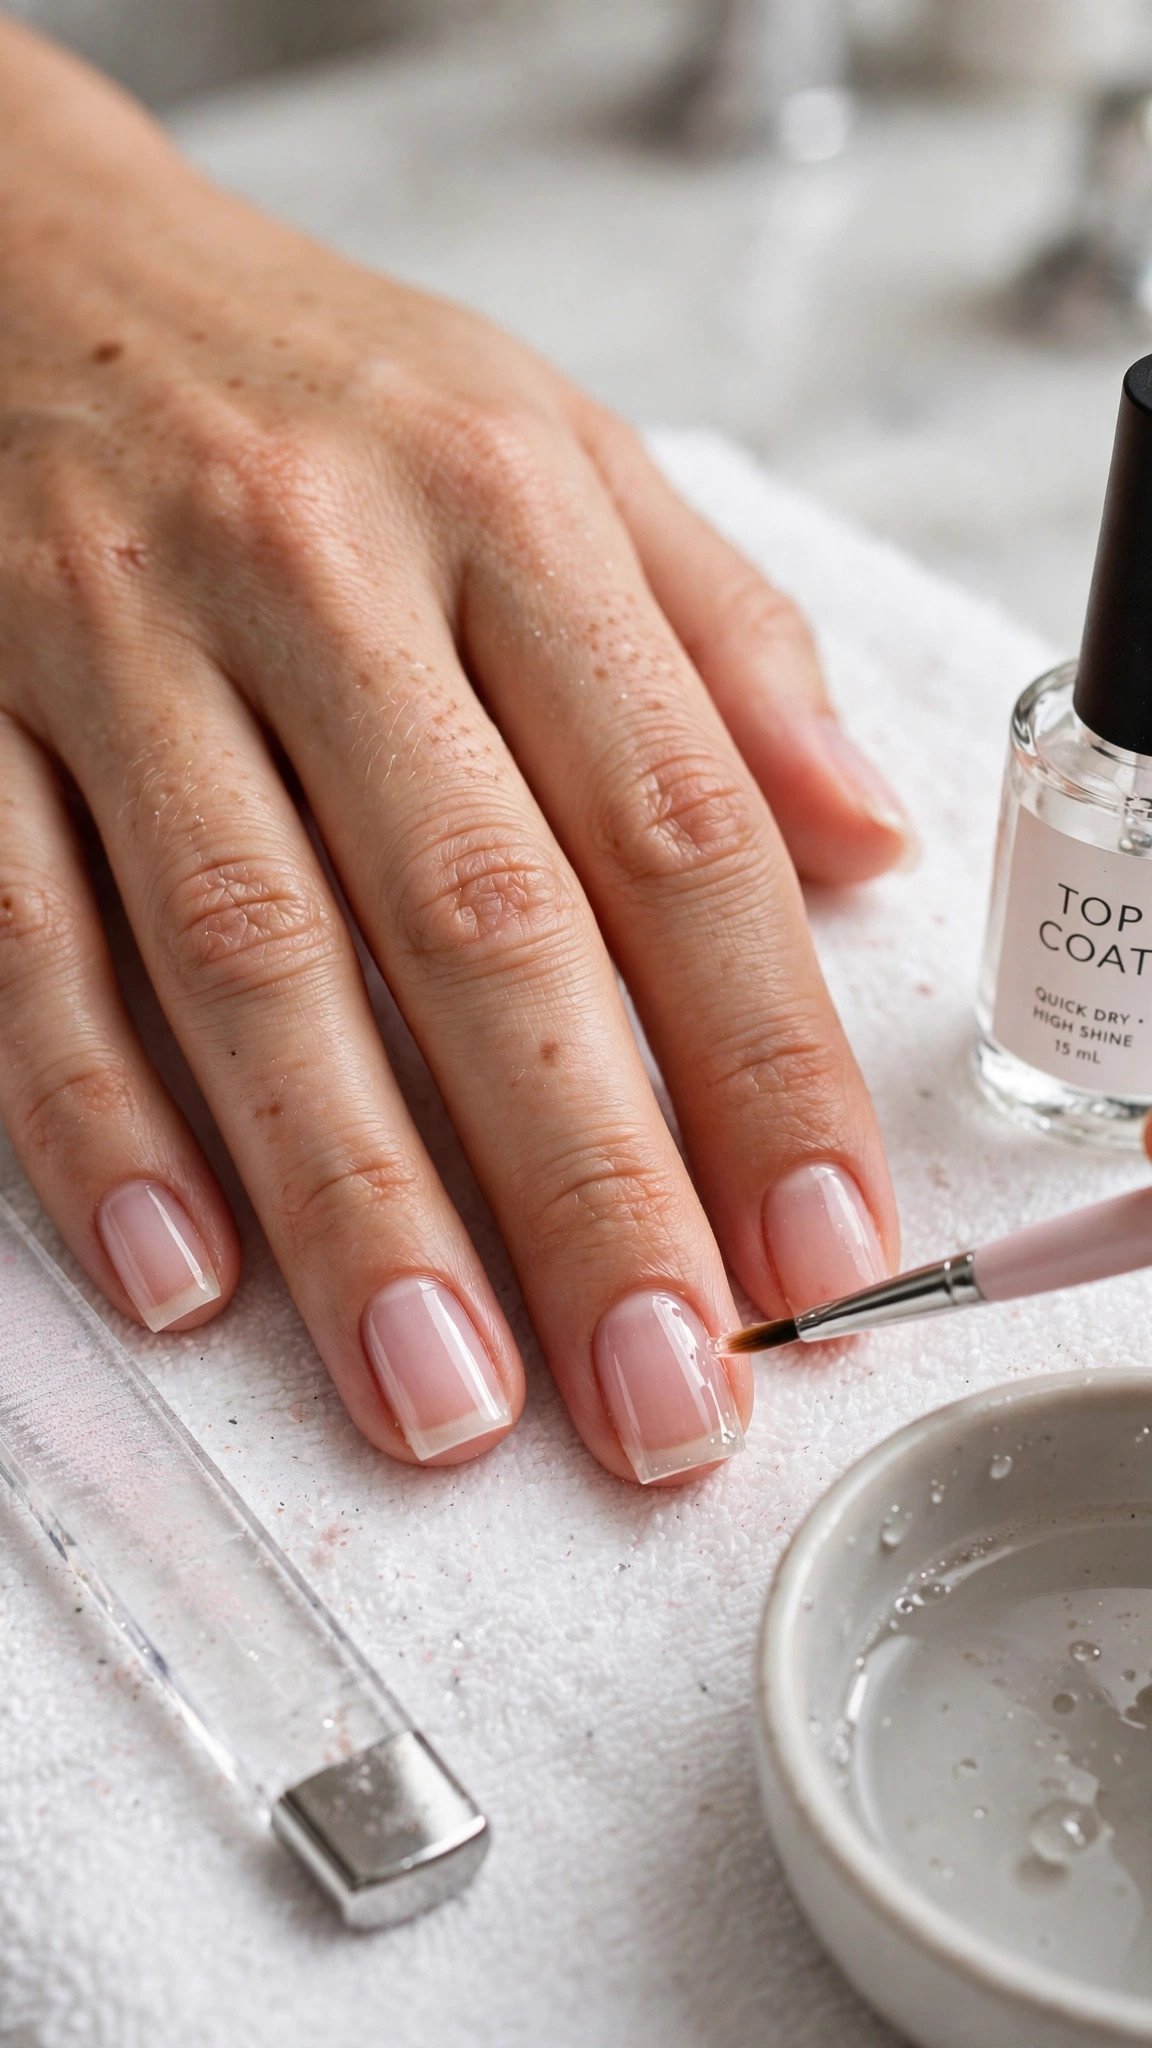
Filing leaves the tip of the nail open, with tiny layers exposed like the pages of a book. Water and soap get between those layers, the nail peels, and the polish lifts with it. Sealing the filed edge with top coat closes those layers before water can reach them.
You need a fine glass file and a clear top coat. File the nail to shape in one direction, then wipe away the dust with a dry lint-free wipe. Brush a thin line of top coat along the very tip edge, let it dry for two minutes, and then paint as normal, capping the edge again with each coat.
Pro Tip: Use a glass file instead of a rough emery board. Glass files seal the edge as they shape it, so the nail layers stay closed from the start.
Browse nail filing guide or how to stop nails peeling.
This one costs about $8 for a glass file and takes about two minutes.
18. The Freezer Trick for Fast Drying
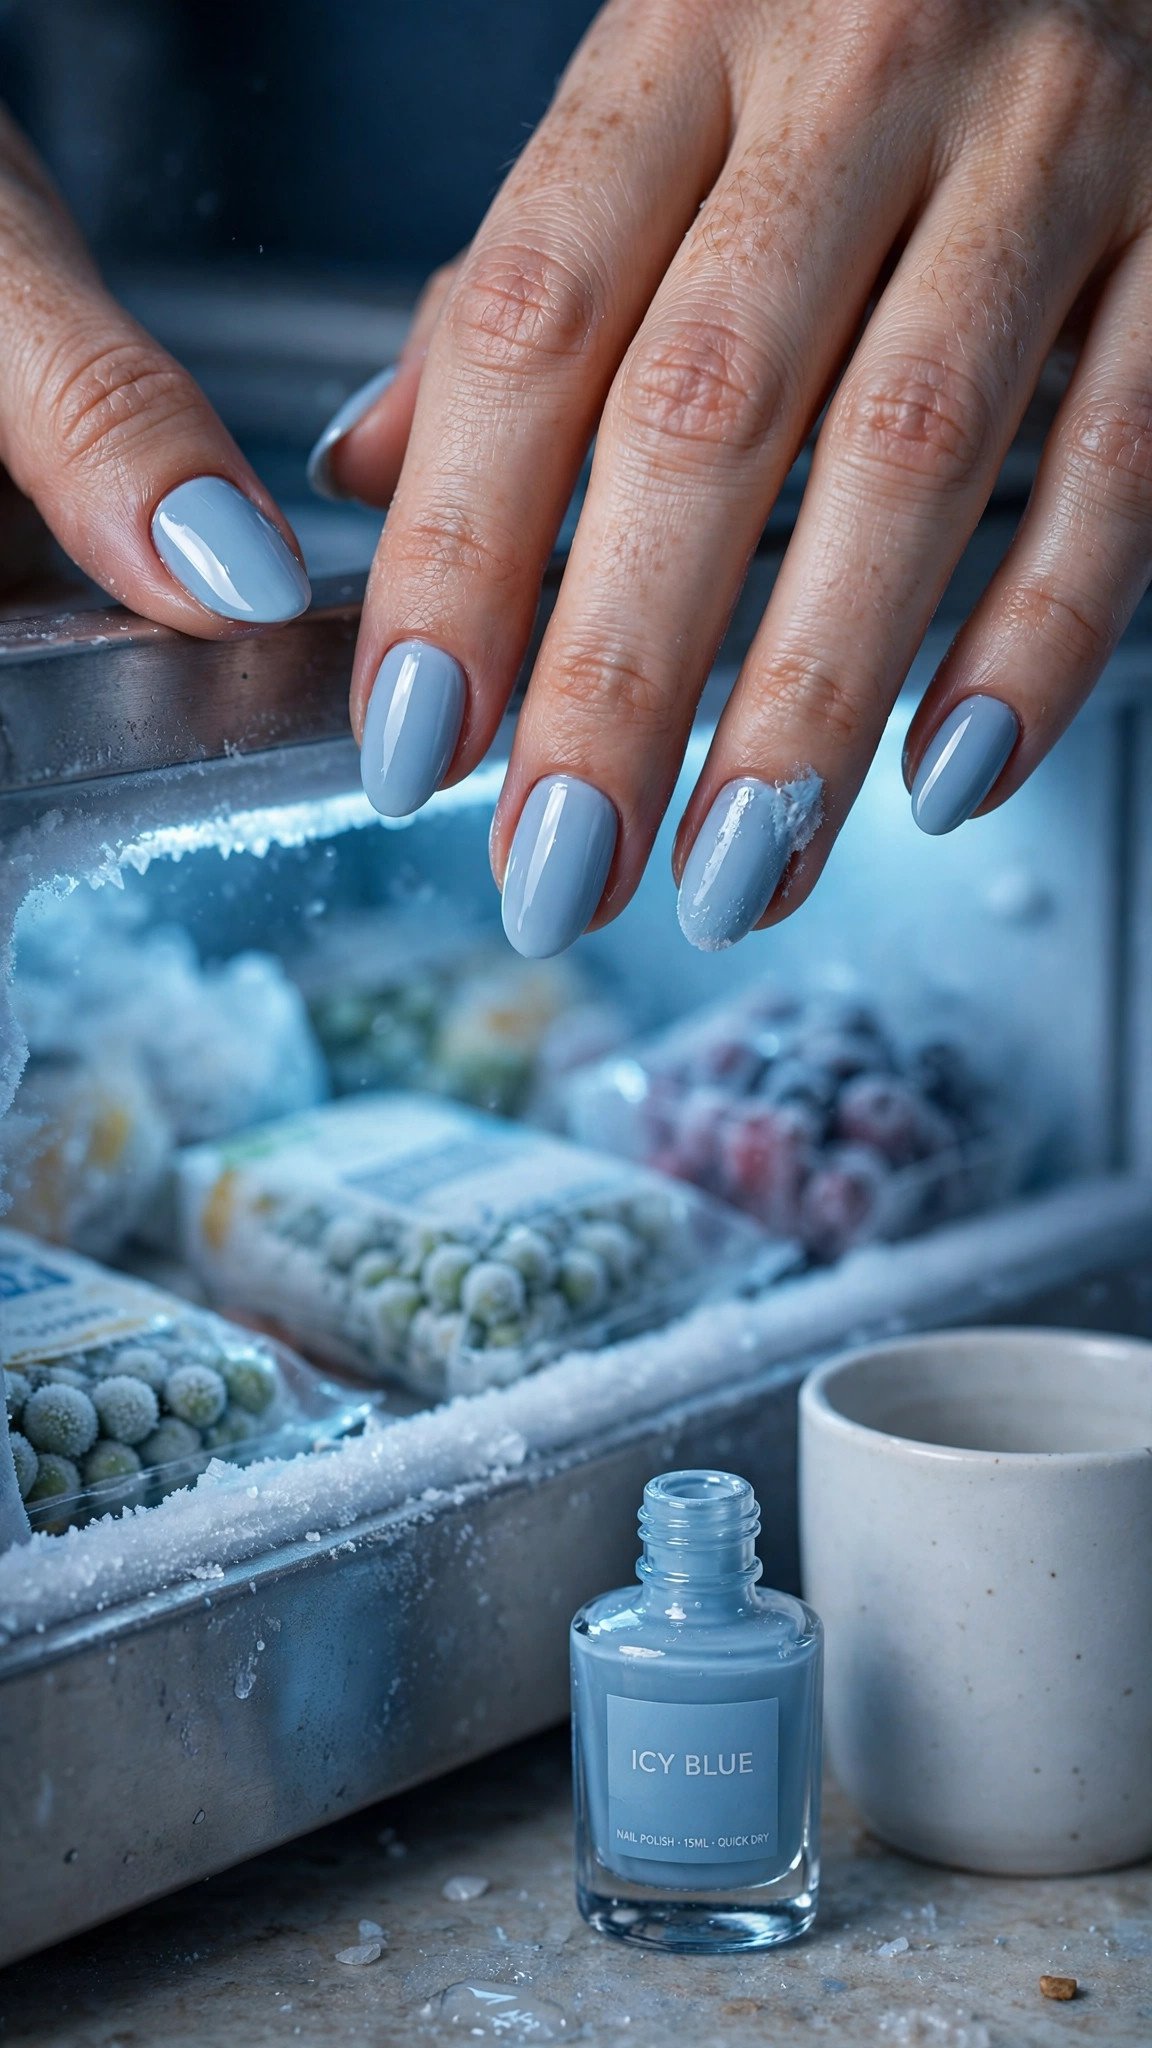
Cold air sets polish faster than warm air, and your freezer is the coldest place in the house. Two minutes with your hands in the freezer firms the top layer so it resists dents and smudges while the deeper layers finish drying. It is a party trick, but it genuinely works when you are in a rush.
You need a freezer and a manicure that has already had two minutes of air drying. Hold your hands in the freezer, fingers spread, for two minutes, then take them out and leave the polish alone for another ten minutes. Do not touch anything cold and wet, like a cold drink can, because condensation softens the polish again.
Regular polish lasts 7-10 days when it dries without dents, compared with a smudged set that gets removed the same night out of frustration.
Pro Tip: Use this trick only for the final top coat, not between color coats. Cold air between coats traps solvent and causes bubbling later.
See fast drying nail hacks or how to dry polish quickly.
This one costs nothing and takes about two minutes.
19. Humidifier and Indoor Heating Care

Central heating dries indoor air to desert levels, and your nails dry out with it. A nail that loses moisture shrinks, flexes, and breaks its bond with the polish, which is why manicures chip faster in heated houses than they do outdoors. A humidifier puts that moisture back.
You need a small room humidifier, which costs about $25-40, or a bowl of water near a radiator as a free version. Run the humidifier in the bedroom overnight, so your nails rehydrate while you sleep.
Gel lasts 2-3 weeks and regular polish lasts 7-10 days in a humidified room, and the skin around the nails stops cracking too, which keeps the cuticle seal intact.
Pro Tip: Keep your nails away from direct heat, like a radiator or a hair dryer on high. Direct heat dries the nail plate in minutes and undoes a night of humidifier work.
Browse winter nail care routine or how heating affects nails.
This one costs about $25-40 for a humidifier, or nothing for a bowl of water.
20. Soak Off, Never Peel

Peeling gel off takes a layer of your natural nail with it, and the next manicure has nothing to grip. A peeled nail is thin, ridged, and bendy, so the next set lifts in days no matter how good the prep is. Soaking off takes fifteen minutes and saves the nail for the next manicure.
You need acetone, cotton pads, foil squares, and a wooden stick. File the shiny top coat off first, then soak a cotton pad in acetone, place it on the nail, and wrap it in foil. Wait fifteen minutes, then push the softened gel off gently with the stick. If it resists, rewrap for five more minutes instead of forcing it.
Pro Tip: Warm the acetone bottle in a bowl of warm water first. Warm acetone works faster, so the soak takes ten minutes instead of fifteen.
See safe gel removal or how to remove gel at home.
This one costs about $10 for acetone and foil, and takes about fifteen minutes.
Getting Started With Nail Hacks for Winter
The easiest first step is to change your prep, not your polish. Buy a bottle of nail dehydrator and a sticky base coat, which together cost about $20, and add the free habits: cap the free edge, use thin coats, and wait two minutes between them. Those five changes alone can double the life of a manicure, and they work with the polish you already own.
The most common beginner mistake is skipping prep and blaming the polish. Push back the cuticles, buff lightly, wipe with dehydrator, and let the base coat grip a dry nail. The second mistake is thick coats, which look done faster but peel within days; two thin coats beat one thick one every time.
What to buy first: a nail dehydrator, a sticky base coat, a quick-dry top coat, and a bottle of cuticle oil. That is about $30-40 in total and covers hacks 1, 5, 8, and 10. If you wear gel, add a rubber base coat and a builder gel, which cost about $15-25 each.
For timeline, regular polish takes about 30 minutes and lasts 7-10 days with these hacks. Gel takes 60-90 minutes and lasts 2-3 weeks, though it should not stay on longer than three weeks. If you notice ridges, discoloration, or pain around the nail, skip the polish and ask a nail professional or a doctor before continuing.
Frequently Asked Questions
How can I make my winter manicure last longer?
Prep is the biggest factor: dehydrate the nail, push back the cuticles, use a sticky base coat, and cap the free edge with every coat. Then protect the set with gloves for chores, daily cuticle oil, and a top coat refresh every three days.
Why do my nails chip more in winter?
Cold, dry air pulls moisture from the nail plate, which makes nails contract and flex, breaking the bond with the polish. Hot water, soap, and central heating swell the nail again, and the polish lifts at the edges. Sealing the free edge, wearing gloves, and oiling the cuticles daily all fight this cycle.
How often should I reapply top coat?
Reapply a thin layer of top coat every three days, and cap the free edge each time. This replaces the top layer that handwashing and cold air wear away, and it reseals small chips before they spread. A quick-dry top coat takes about five minutes and can add a full week to a manicure.
Is gel or regular polish better for winter?
Gel lasts longer in winter, usually 2-3 weeks compared with 7-10 days for regular polish with good prep, because the cured gel flexes less and resists water. If you prefer regular polish, a gel top coat over fully dry color gives you most of the benefit without a full gel routine.
How do I remove a winter manicure without damaging my nails?
Soak it off, never peel it. File off the shiny top coat, wrap each nail in acetone-soaked cotton and foil for fifteen minutes, then push the softened polish off gently with a wooden stick. Follow with cuticle oil and a day of rest before the next set, so the nail stays strong enough to hold polish.
A Few Final Thoughts
The best winter manicure is not the most expensive one, it is the best protected one. Across these 20 hacks, the pattern is simple: a dry, prepped nail, a sealed edge, and a little daily care make the biggest difference. Whether you choose a five-minute dehydrator prep or a builder gel shield for the holidays, your manicure will look intentional all season. A small change, like capping the free edge or oiling your cuticles before bed, can add a whole week to your wear time. Pick three hacks from this list, try them on your next manicure, and enjoy the winter without the chips.